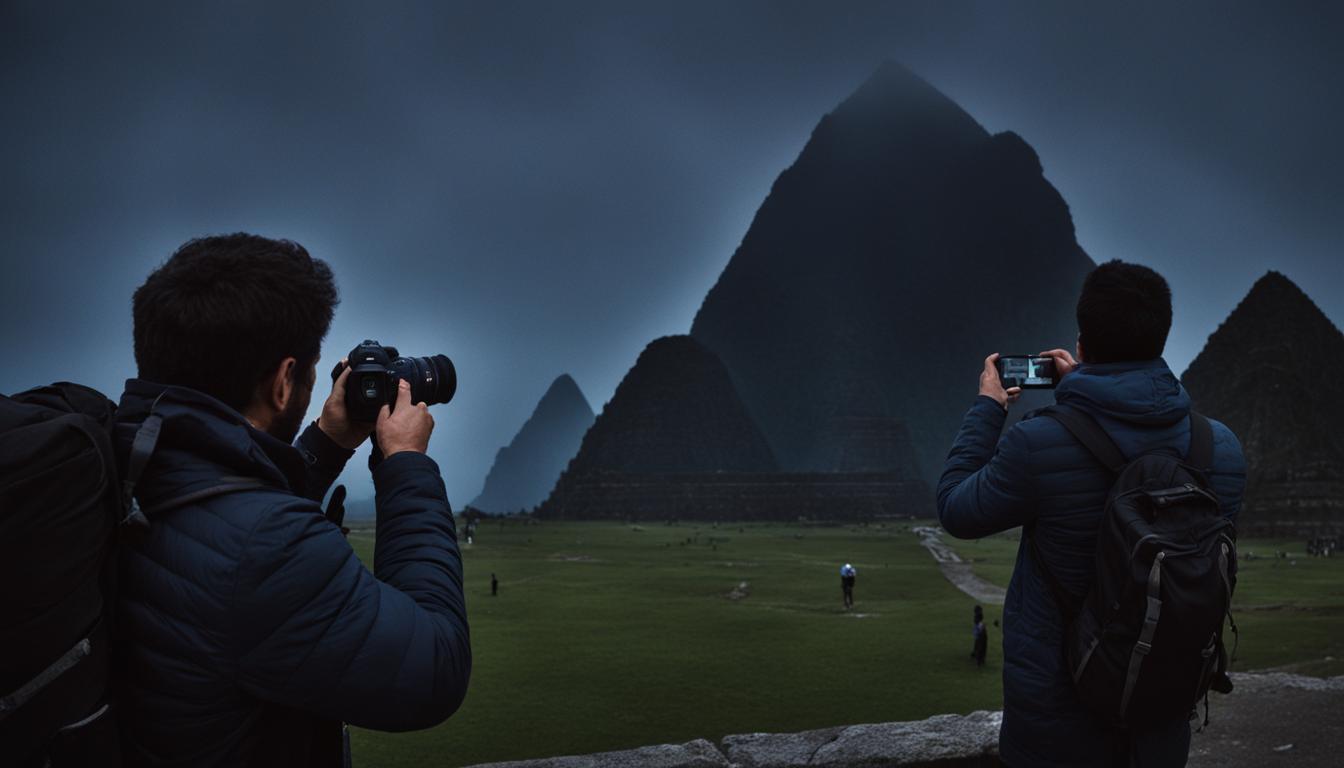
Beat Travel Photography Hurdles in Low Light Conditions
If you are an avid traveler with a passion for photography, you are likely to face the challenge of capturing stunning shots in low light conditions. But fear not, as with the right tips and techniques, you can overcome this common travel photography hurdle and capture breathtaking images even in the darkest of places. In this section, we will discuss practical low light photography tips to help you overcome common travel photography challenges and capture stunning shots that you will cherish for years to come. Whether you are a beginner or an experienced photographer, these tips will help you take your travel photography to the next level.
Understanding Low Light Photography
To capture stunning low light photos, it is essential to understand the unique considerations and techniques required for low light photography.
One of the biggest challenges of low light photography is inadequate lighting. This is where improving low light photography techniques comes into play. Below are a few low light photography techniques that you can use to enhance the quality of your photos:
- Change the aperture setting: A wider aperture allows more light into the camera resulting in a brighter image. Try using a low f-number like f/1.8 or f/2 to brighten up your images.
- Use a slow shutter speed: Choosing a slow shutter speed gives more time for light to enter the camera lens. However, longer exposure times can lead to camera shake, which can result in blurry images. Using a tripod can help stabilize the camera, and minimize camera shake.
- Adjust ISO: Increasing the ISO setting in your camera makes the sensor more sensitive to light. Try increasing the ISO to experiment with the impact of this setting on the quality of your images. Be mindful that a high ISO can create noise or grainy images.
- Shoot in RAW format: Shooting in RAW format gives you more control when editing low light photos. The RAW file contains more data that saved in the camera which gives more flexibility for post-processing.
Remember that photography is an art, and experimentation plays a significant role in mastering low light photography.
Pro Tip: Low Light Photography is often mistaken for Night Photography. Although the techniques and skills used may overlap, they are not identical.
Choosing the Right Gear
When it comes to travel photography challenges, low light conditions are among the most difficult to manage. However, with the right gear, you can overcome these limitations and capture outstanding images. Here are some essential equipment and accessories that can help you overcome low light photography challenges:
| Essential Gear | Description |
|---|---|
| Camera | Invest in a camera body that offers high ISOs and lower noise levels, which are ideal for shooting in low light conditions. Go for a full-frame sensor as they tend to perform better than cropped sensors in low light. |
| Lens | Select a fast lens that can handle low light conditions, such as a wide aperture f/1.4 or f/1.8 lens. A fast lens will allow you to capture more light and faster shutter speeds, resulting in more sharpness and detail. |
| Tripod | A steady shot is imperative in low light photography and a tripod eliminates the problem of camera shake. A good tripod will help you capture sharp and stable shots, even in poor lighting conditions. |
| Remote Shutter Release | A remote shutter release is an excellent accessory, especially when shooting long exposures. It allows you to take the shot without touching the camera, which can cause it to move and shake. |
You can also invest in accessories such as neutral density filters and flash diffusers to help you capture the perfect low light shot. Choosing the right gear can be expensive, however, remember that it is a worthwhile investment that will drastically improve the quality of your travel photos.
With the right equipment and accessories, you can overcome the challenges of low light photography and take your travel photos to the next level.

Mastering Exposure Settings
When it comes to low light photography, getting the right exposure is crucial to capturing well-lit images. Exposure refers to the amount of light that enters the camera and hits the image sensor. By adjusting exposure settings, you can achieve optimal exposure even in challenging lighting conditions.
ISO
ISO refers to the sensitivity of your camera’s image sensor to light. In low light conditions, you may need to increase the ISO to achieve a well-exposed image. Keep in mind that increasing the ISO can also increase noise in your images, so find a balance between sensitivity and noise reduction. Experiment with different ISO settings to find the right balance for your shot.
Aperture
Aperture refers to the size of the opening in your lens that allows light to pass through. A wider aperture (lower f-number) allows more light to enter the camera, making it a good choice for low light conditions. However, a wider aperture can also result in a shallower depth of field, which may or may not be desirable depending on your subject and composition. Consider adjusting your aperture based on your desired depth of field and available light.
Shutter Speed
Shutter speed refers to the amount of time that the camera’s shutter remains open when taking a photo. In low light conditions, a slower shutter speed may be necessary to allow more light into the camera. However, using a slow shutter speed can also result in motion blur if the camera or subject moves during the exposure. Consider using a tripod or other stabilizing device if using a slow shutter speed. Alternatively, you can increase the shutter speed to freeze motion, but this may result in a darker image if less light enters the camera. Experiment with different shutter speeds to find the right balance between exposure and motion blur.
| Exposure Setting | When to Adjust | How to Adjust |
|---|---|---|
| ISO | When the image is too dark | Increase ISO |
| Aperture | When you want to control depth of field | Adjust f-number |
| Shutter Speed | When the image is too dark or to control motion blur | Adjust shutter speed |
Mastering exposure settings takes practice and experimentation. Learn how each setting affects your images and don’t be afraid to try out different combinations to achieve optimal exposure. With the right exposure settings, you can achieve stunning low light photography results.

Utilizing Available Light
When it comes to low light photography, utilizing available light is essential for capturing stunning travel photos. Natural light sources can provide a great starting point for enhancing your images. Consider the time of day and location when planning your shots. Early morning and late afternoon light can create a warm, soft glow that adds depth and interest to your images.
Alternatively, consider using ambient light from nearby street lamps or buildings to your advantage. Experiment with different angles and positioning to find the best light source for your shots.
Creating unique lighting effects can also elevate your images. Try incorporating reflections, shadows, or silhouettes into your compositions to add drama and interest.

Pro Tip: Take advantage of the available light sources and experiment with positioning and angles for stunning results.
Using Artificial Lighting
When natural light is not enough to properly expose your images, artificial lighting techniques can be used to overcome low light challenges and create exceptional travel photographs. From camera flashes to strobe lights, understanding the use of artificial lighting in photography can produce stunning results so let’s explore how you can effectively use artificial light to improve low light photography techniques.
Flash Photography
One of the most popular techniques for using artificial light in low light photography is to take a picture with a camera flash. The main challenge in flash photography is to achieve a balance between the ambient and the artificial light. To avoid a harsh look on your subject, try bouncing your flash off a nearby surface or using it at a lower intensity level. You can also diffuse the light with a flash modifier for a softer look.

Strobe Light Photography
Another effective way to create artificial light in low light situations is by using a strobe light. Strobe lights are battery powered, allowing you to take them on your travels, and produce a brighter and more controlled light source. You can experiment with different angles, settings, and distance from the subject to obtain the desired effect. Take note of the color temperature of the light and adjust accordingly to match your ambient lighting.
Using Continuous Lights
If you don’t have a strobe or a flash, try using continuous lights or work lamps. Continuous lighting produces a steady stream of light, allowing you to preview your subject’s look before taking the shot. This technique is great for creating different shadows and effects, and you can adjust the light’s position and intensity to achieve your desired results. Be mindful of the color temperature and use color correction gels if necessary to balance the light sources.
The Right Light
In summary, artificial lighting is an essential tool for creating quality low light photographs, but it’s important to use the right type of light for your needs. Consider the size of your subject, the distance from the light source, and the ambient lighting available. Experiment with different angles, intensity levels, and colors until you achieve the desired effect.
Stabilizing Your Shots
Photography in low light conditions presents a unique set of challenges, and camera shake is one of the most common problems. However, with the right technique, you can overcome this issue and capture sharp and clear shots. Here are some useful tips for stabilizing your shots:
- Use a tripod: A sturdy tripod is an essential tool for low light photography. It will provide a stable base and allow you to keep your camera steady for longer exposures.
- Take advantage of image stabilization: Many modern cameras come with built-in image stabilization features that can help reduce camera shake. This will allow you to capture sharp images even when handholding your camera.
- Hold your camera properly: Proper handholding technique is crucial for achieving sharp shots. Keep your elbows close to your body, and support the lens with your left hand if necessary.
By applying these techniques, you can overcome the challenge of camera shake when taking photos in low light conditions.

Post-Processing Techniques
Low light conditions can present a challenge for even the most experienced photographers, but fortunately, post-processing offers an opportunity to significantly enhance your images. Here are some editing techniques that can help you bring out the best in your travel photos:
- Adjusting exposure and contrast: Photographs taken in low light settings can often turn out underexposed or lacking in contrast. Adjusting exposure and contrast levels can help you bring out the details that might be lost in low light environments.
- Reducing noise: Low light images can sometimes appear grainy or noisy. By applying noise reduction filters, you can reduce the noise and create a smoother and cleaner image.
- Enhancing details: Highlighting the details in your image can create a significant impact. A tool like the sharpening filter can help you refine edges in your photo.
Keep in mind that post-processing should not be used as a crutch to make up for poorly captured images. Try to capture high-quality shots in-camera whenever possible, and use post-processing as a tool to enhance your images further.
Check out the difference between an unprocessed and post-processed image:
As you can see, by using various editing techniques, you can transform a flat and dull image into a vibrant and striking photo.
Conclusion
Now that you have learned about the challenges of low light travel photography and techniques to overcome them, it’s time to put them to the test. Remember to choose the right gear, master exposure settings, utilize available and artificial lighting, stabilize your shots, and apply post-processing techniques for best results.
Don’t be afraid to experiment and try different approaches to see what works best for you. With practice, you’ll be able to capture stunning images even in challenging lighting conditions.
Keep in mind that travel photography is not just about technical skills but also about creativity and storytelling. Use your unique perspective and style to create photos that capture the essence of your travels and inspire others.
So pack your bags, grab your camera, and start exploring the world through your lens. With the knowledge and tips gained from this article, you’ll be well on your way to mastering the art of low light travel photography. Happy shooting!


