If you’re a food lover and a travel enthusiast, then you know that capturing stunning food photos while on the go can be challenging. Luckily, with the right skills and techniques, you can take your food photography game to the next level.
This article will provide you with valuable food photography tips for travelers to help you capture mouthwatering images of local cuisines, worldwide. Whether you’re a beginner or an experienced photographer, our guide will help you learn how to use lighting, composition, and styling to create truly memorable food photos.
So, get ready to elevate your trip and take your taste buds on a delicious journey through the art of food photography.
The Beginner’s Guide to Food Photography
If you’re new to food photography, the thought of capturing beautiful images of your meals can seem intimidating. But fear not, this beginner’s guide will provide you with everything you need to know to take stunning food photos while exploring new culinary destinations.
Camera Settings
Before you start snapping away, it’s essential to get your camera settings right. Use a low aperture (between f/1.8 and f/2.8), a fast shutter speed, and a low ISO to ensure a shallow depth of field, sharp focus, and minimal noise. If you’re unsure, try using the camera’s aperture priority mode.
Composition Techniques
Composition is key to taking beautiful food photos. Try using the rule of thirds, leading lines, and symmetry to create visually appealing shots. Experimenting with different angles can also produce interesting results.
“Photography is the art of making the ordinary look extraordinary.” – Unknown
Food Styling Tips
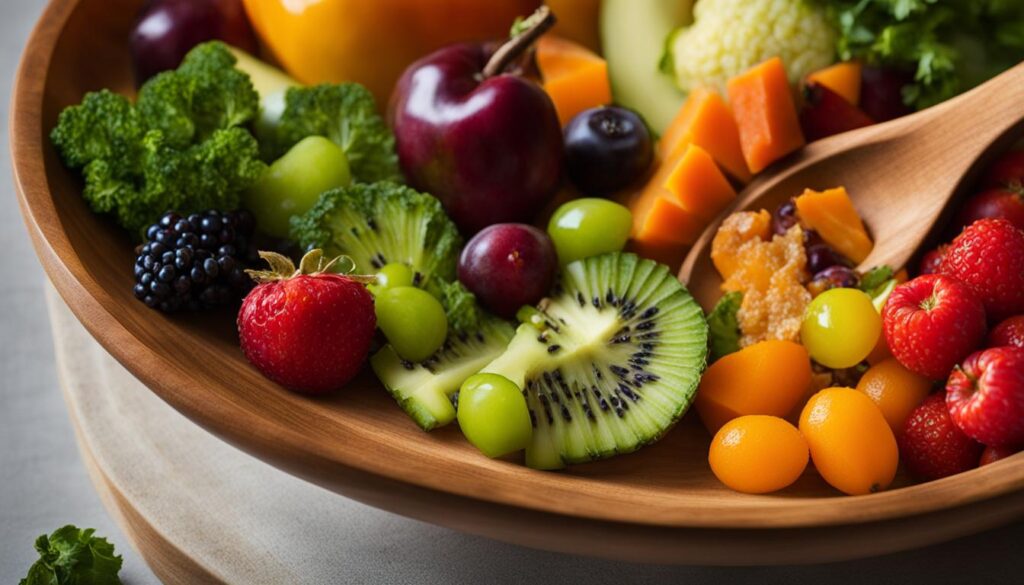
Food styling can take your photos to the next level. Consider the colors and textures of your dish and use props such as cutlery, napkins, and glasses to add interest. Don’t forget to garnish your food with fresh herbs, sauces, and spices to make it pop.
Capturing Food Photos on the Go
Traveling is an exciting adventure, but it often comes with limited time and resources, making it challenging to capture enticing food photos. However, with some practical tips and techniques, you can take beautiful food photos while on the move.
Use Natural Light
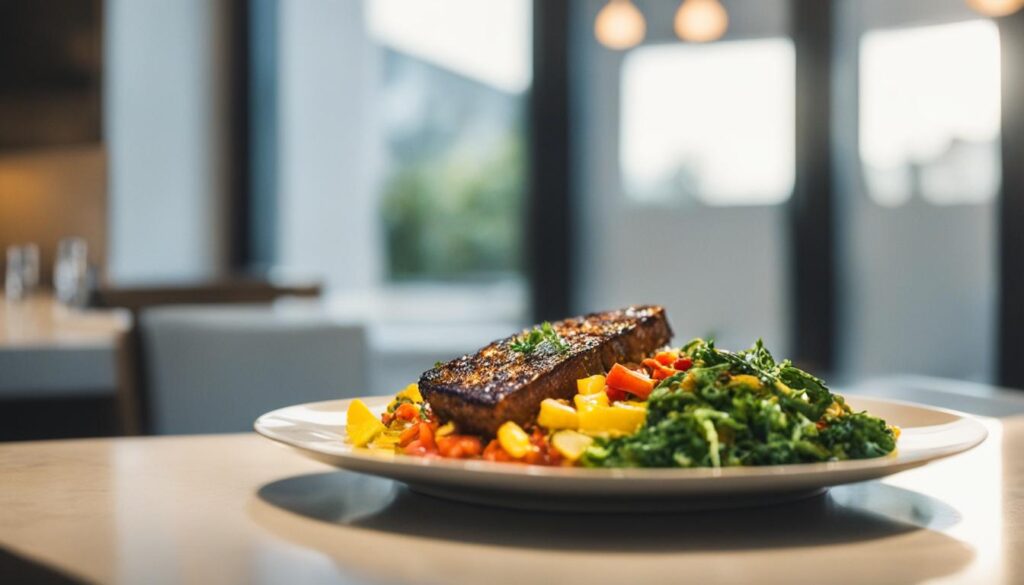
Natural light can make all the difference in your food photography. When possible, try to take photos near windows or outside during the early morning or late afternoon when the sun is not at its peak. This light will provide a soft and flattering glow to your food. Avoid using the flash as it can create harsh highlights and shadows.
Find the Right Angles
Experimenting with different angles can create a unique and interesting perspective to your food photography. Consider shooting from above or at a 45-degree angle, or getting down to the same level as the food. Don’t be afraid to move around and try different positions to find the perfect shot.
Focus on Composition
Composition is crucial in food photography, even when capturing photos on the go. Use the rule of thirds by positioning the food off-center to create a more dynamic and interesting composition. Also, pay attention to the background and surrounding elements, ensuring they complement the food and add context to the photo.
Make the Most of Limited Time and Resources
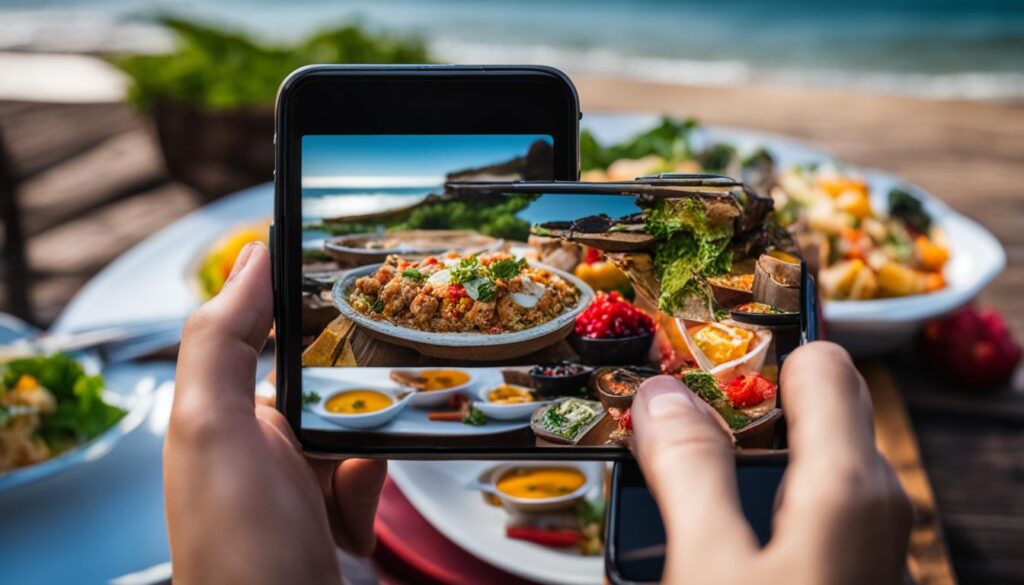
Traveling often comes with limited time and resources, so utilize what you have. Consider incorporating the local culture and scenery into your food photos to capture the spirit of the destination. Also, take advantage of props such as utensils or napkins, adding interest and depth to your photos.
By using these tips, you can capture beautiful and enticing food photos while on the go. Don’t be afraid to experiment and try new things to find your unique style and take your food photography to the next level.
Mastering Lighting for Food Photography
When it comes to capturing stunning food photos, lighting is one of the most critical factors to consider. The right lighting can make all the difference between a mediocre shot and a mouth-watering masterpiece.
Here are some lighting tips for food photography to help you capture the perfect shot:
Natural Light vs. Artificial Light
Natural light can bring out the natural colors and textures of your food, while artificial lighting provides more control over the light source and direction. Experiment with both options to see which one works best for the mood and style you are trying to achieve.
Pro Tip: When shooting with natural light, avoid harsh, direct sunlight, as it can create harsh shadows and blow out the highlights. Instead, opt for diffused or indirect light, such as shooting near a window or in the shade.
White Balance
The white balance setting on your camera affects how colors appear in your photos. For food photography, it’s essential to get the white balance right to ensure accurate color representation.
| Light Source | White Balance Setting |
|---|---|
| Natural Light | Daylight (if shooting during the day) |
| Incandescent Light | Tungsten |
| Fluorescent Light | Fluorescent |
Lighting Angles
The angle of your lighting can dramatically affect the mood and texture of your food photos. Experiment with different lighting angles, such as front lighting, backlighting, and side lighting, to see which one best enhances your subject.
Pro Tip: For a more dramatic look, try using backlighting to create a halo effect around your food. Place your light source behind your subject and shoot towards the light for a stunning effect.
With these lighting tips for food photography, you’re well on your way to capturing mouth-watering shots of your culinary adventures. Happy shooting!
Composition Tips for Stunning Food Photography
If you want to take your food photography to the next level, composition is key. By playing with different composition techniques, you can create visually appealing images that capture the essence of your culinary experience. Here are some tips to help you master the art of composition in food photography:
The Rule of Thirds
The rule of thirds is a fundamental composition technique that can help you create more balanced and visually appealing photos. To use this technique, imagine dividing your frame into three equal parts both horizontally and vertically, creating nine equal parts in total. Then, align the important elements of your photo along these lines or at their intersection points.
Leading Lines
Leading lines are a powerful way to draw the viewer’s eye towards the main subject of your photo. These can be any lines or shapes in the photo that guide the viewer’s gaze, such as a road, a river, or even the lines on a plate. Use leading lines to create depth and movement in your photos and to highlight the important elements of your composition.
Balance
Balance is an essential principle of composition and can be achieved by arranging the elements of your photo in a harmonious way. There are different ways to create balance in a photo, such as symmetry, asymmetry, or radial balance. Experiment with these techniques to find the best way to balance your food photos.
“Composition is not just about arranging objects in a frame. It’s about telling a story and capturing the essence of your subject.”
By using these composition tips for food photography, you can create stunning images that showcase your culinary adventures in an artistic and visually appealing way.
Food Styling Tips for Travel Photography
Styling your food is crucial to creating enticing images that capture the essence of each destination. Here are some food styling tips specifically tailored for travel photography to help you take your photos to the next level:
- Keep it simple: Simplicity is key when it comes to food styling. Avoid overcrowding your dish with too many elements, and focus on highlighting the main ingredients.
- Use props: Props are a great way to add context and enhance the story behind your food. For example, you could use a rustic cutting board or a local newspaper as a backdrop to your dish.
- Pay attention to colors: Color can make or break your food photo. Consider the colors of your dish and its surroundings when choosing props and backgrounds.
- Play with texture: Texture adds depth and interest to your food photos. Try incorporating contrasting elements, such as crunchy nuts on a smoothie bowl or a soft bread roll next to a crispy chicken sandwich.
- Get creative with plating: Plating is an art form in itself and can add a unique twist to your food photos. Experiment with different shapes and angles, and don’t be afraid to try new techniques.
- Use natural elements: Incorporating natural elements, such as flowers, herbs, or spices, can add a pop of color and freshness to your food photos. Just be careful not to overpower the main dish.
“Food styling is all about creating a mood and a feeling. It’s about selling the dish and telling a story.” – Donna Hay
Editing Tips for Food Photography
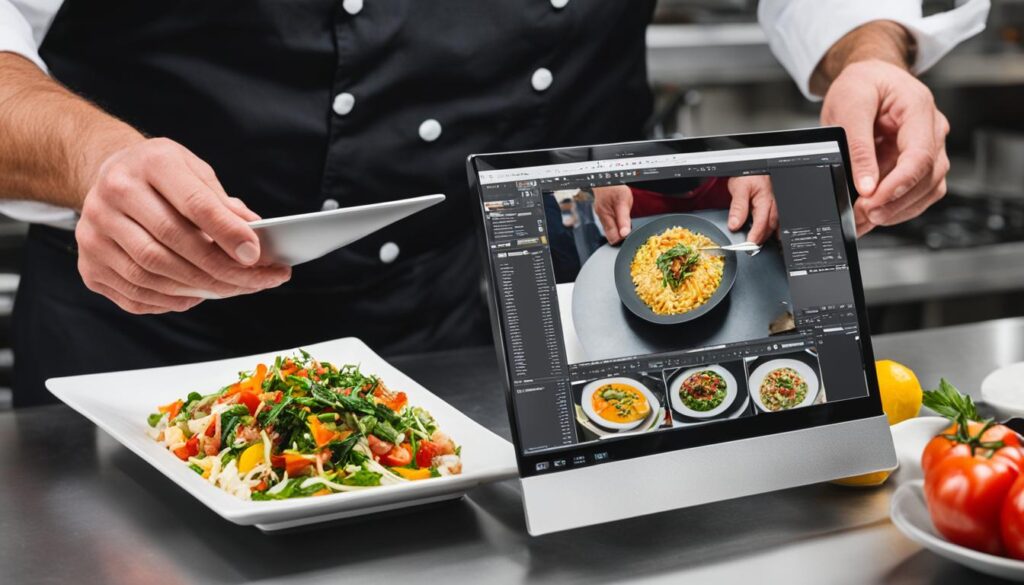
After capturing your food photographs, editing is the next crucial step to enhance their visual appeal. With the following editing tips for food photography, you can elevate your images to the next level:
- Adjust exposure: Correcting the exposure is essential to achieving the desired brightness and contrast levels for your photos. You can adjust the brightness, highlights, shadows, and contrast levels in your image editing software to fine-tune the exposure of your food images.
- Enhance colors: Color correction plays a significant role in food photography. If the colors of your food photo are not vibrant or appear dull, you can enhance them during editing. You can adjust the temperature, tint, saturation, and vibrancy levels to bring out the richness of your food’s colors.
- Sharpen the image: Sharpening will help bring out the details in your food photos. You can use the sharpen tool in your editing software to enhance the edges and details in the image, but be careful not to overdo it, or your photo may start to look unnatural.
By applying these editing tips for food photography, you can make sure that your food photos look their absolute best.
Essential Food Photography Equipment for Travelers
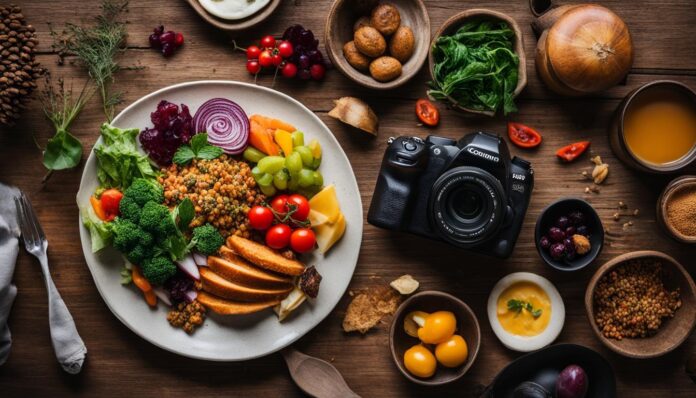
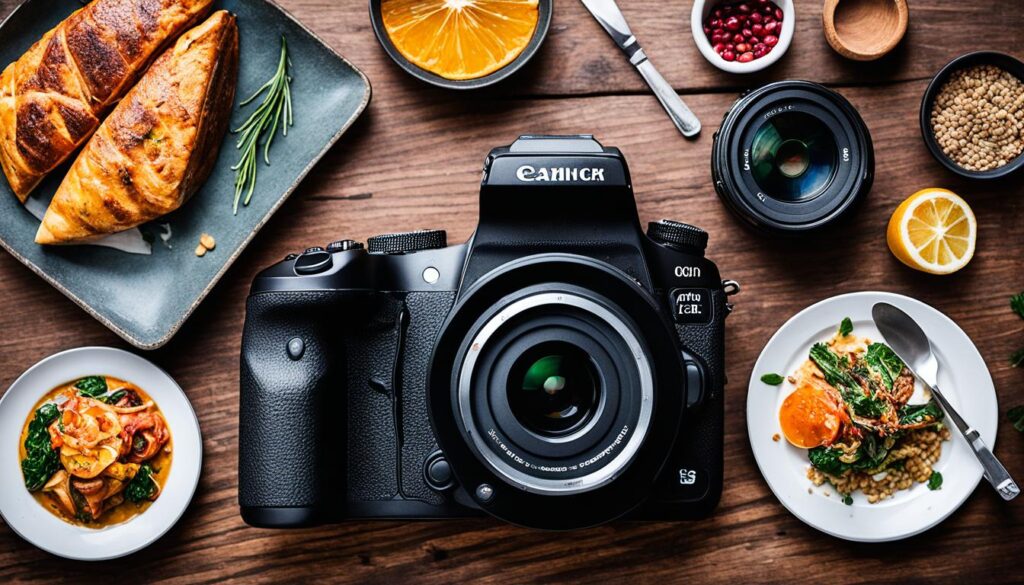
When it comes to food photography, having the right equipment can make all the difference. Whether you’re a professional or just starting out, investing in the right gear can greatly enhance your photos while traveling. Here are some essential items to consider:
| Camera | A DSLR or mirrorless camera with manual controls is ideal for capturing high-quality food photos. Make sure to choose a camera that is portable and lightweight for travel. Popular options include the Canon EOS Rebel series and the Sony Alpha series. |
|---|---|
| Lenses | Investing in a good lens is just as important as the camera itself. Prime lenses, such as a 50mm or 35mm, are great for food photography because they allow you to capture sharp, detailed images. A zoom lens, such as a 24-70mm, gives you flexibility to capture different angles and compositions. |
| Tripod | A sturdy, lightweight tripod can help keep your camera steady and ensure sharper images, especially in low light situations. Look for a tripod that is easy to carry and can be adjusted to different heights. |
| Portable Lighting | Having access to good lighting is essential for food photography. Consider adding a portable lighting option to your gear, such as a small LED light panel or a reflector. |
Remember, investing in high-quality equipment may seem expensive, but it can greatly improve the quality of your photos. Choose gear that suits your needs and budget, and practice using it before your trip to ensure you are comfortable with all the settings.
Best Camera Settings for Food Photography
If you want to capture drool-worthy food photos, it’s essential to understand the best camera settings for food photography. By adjusting your camera’s aperture, shutter speed, ISO, and white balance, you can elevate your food photos to a whole new level. Let’s take a closer look.
Aperture
The aperture is the opening in your camera’s lens through which the light passes. When you’re taking food photos, you want to make sure that your aperture is set to a low number, such as f/2.8 or f/4, as this will create a shallow depth of field. This effect will blur the background, making your subject stand out and appear more prominent in the photo.
Shutter Speed
The shutter speed determines how long your camera’s sensor is exposed to light when you take a photo. For food photography, you want to use a relatively fast shutter speed, such as 1/125 or higher, to avoid any motion blur. This is especially important when working with natural light or handheld shots, where the slightest movement can cause blurriness.
ISO
The ISO setting on your camera determines how sensitive your camera’s sensor is to light. When shooting food photos, it’s best to use a low ISO setting, such as 100 or 200, to reduce any noise or graininess in your images. However, if you’re shooting in low light situations, you may need to increase your ISO to get a properly exposed photo.
White Balance
The white balance setting on your camera controls the color temperature of your photos. For food photography, you want to make sure that your white balance is set to a natural or warm setting to enhance the colors of your food. If you’re shooting in mixed lighting environments, consider using the custom white balance setting to get the most accurate colors in your photos.
By adjusting your camera’s aperture, shutter speed, ISO, and white balance settings, you can take your food photography to the next level. It takes some practice and experimentation to find the right balance of settings for each shot, but with time and experience, you’ll be capturing mouthwatering food photos that will have everyone drooling.
Conclusion
Congratulations, you’ve made it to the end of our food photography tips for travelers article! We hope that you found these tips helpful and informative, and that they will inspire you to take your food photography skills to the next level on your next culinary adventure.
Remember, food photography is all about creativity and experimentation. Practice makes perfect, so don’t be afraid to try new techniques and styles until you find what works best for you.
When it comes to capturing stunning food photos while traveling, the key is to be prepared and adaptable. Bring the right equipment, pay attention to lighting and composition, and don’t be afraid to get creative with styling and editing.
By following these food photography tips for travelers, you can elevate your trip and capture mouth-watering images that will transport you back to each delicious destination for years to come.


