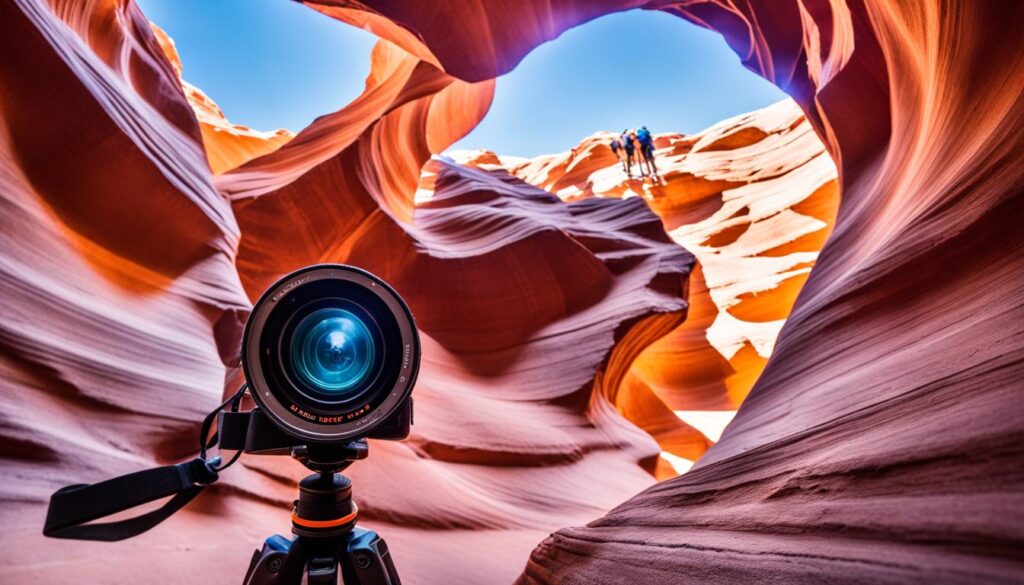
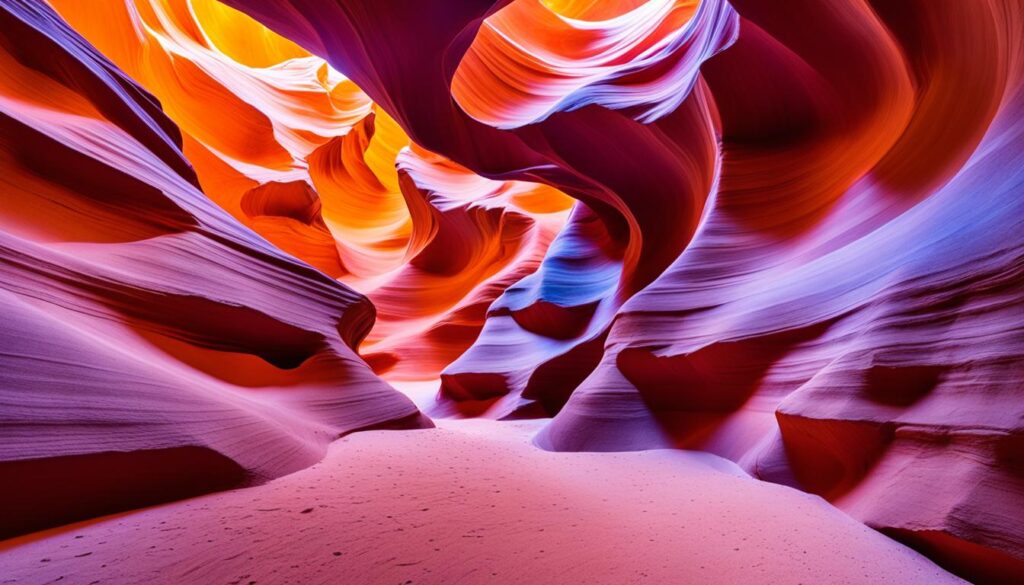
Have you ever wondered how to capture the breathtaking beauty of Antelope Canyon in photographs? What if there were photography techniques that could help you create truly captivating shots of this natural wonder? Whether you’re a professional photographer or an enthusiast, discovering the secrets to creating stunning images in Antelope Canyon is sure to take your photography skills to new heights.
In this article, we will explore a variety of Antelope Canyon photography tips and techniques that will elevate your images to a whole new level. From understanding the unique characteristics of the canyon to mastering light and shadows, composition and framing, controlling exposure, capturing vibrant colors, and handling crowds, we’ll cover everything you need to know to create awe-inspiring photographs in Antelope Canyon.
So, are you ready to unlock the secrets of Antelope Canyon photography and create images that will leave everyone in awe? Let’s dive in and discover the tips and techniques that will help you capture the true essence of this magnificent natural wonder.
Understanding Antelope Canyon
Before diving into photography tips, it’s important to understand the unique features and characteristics of Antelope Canyon. This section will provide insights into the canyon’s geological formations, the best time to visit, and popular photo tour options.
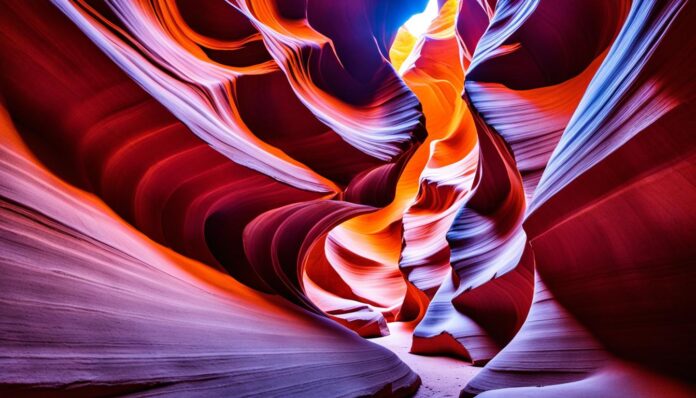
Antelope Canyon, located in Arizona, is a breathtaking natural wonder known for its stunning rock formations and intricate light patterns. Carved over centuries by the forces of wind and water, the canyon offers a mesmerizing experience for nature enthusiasts and photographers alike.
When exploring Antelope Canyon, it’s essential to join a guided photo tour to fully appreciate its beauty and ensure responsible exploration. These tours are led by experienced guides who know the best spots for capturing iconic shots and can provide insights into the canyon’s history and geology.
Geological Formations: The canyon consists of two sections, Upper Antelope Canyon (also known as “The Crack”) and Lower Antelope Canyon (or “The Corkscrew”). Upper Antelope Canyon is famous for its narrow, sandstone walls that often create stunning light beams when the sun is high overhead. Lower Antelope Canyon, with its steep ladders and spiral passages, offers unique vantage points and intriguing formations.
Best Time to Visit: The lighting conditions in Antelope Canyon vary throughout the year, creating different photographic opportunities. The most coveted time to visit is during the summer months (June to August) when the sunlight enters the canyons and creates stunning light beams and vibrant colors. However, if you prefer less crowded conditions, consider visiting during spring (March to May) or fall (September to November).
Popular Photo Tour Options: Various tour companies offer guided photography tours in Antelope Canyon, providing ample opportunities to capture awe-inspiring images. Some of the popular tour options include:
- Photographer’s Tour: These tours cater specifically to photographers, allowing ample time to capture the perfect shot. Photographers can take their time setting up equipment, experimenting with different compositions, and learning professional techniques from the guides.
- Sightseeing Tour: Ideal for those who want to explore the canyon and admire its natural beauty without the focus solely on photography. These tours provide insights into the canyon’s history, geology, and cultural significance.
- Private Tour: For a more personalized experience, private tours are available, allowing photographers to have exclusive access to certain areas of the canyon. This option is perfect for capturing unique shots and avoiding crowds.
By understanding the geological formations, choosing the best time to visit, and selecting the right photo tour, you’ll be well-prepared to embark on an unforgettable photography journey in Antelope Canyon.
Key Takeaways:
– Antelope Canyon is a stunning natural wonder in Arizona known for its unique rock formations and lighting conditions.
– Exploring the canyon through guided photo tours ensures responsible exploration and maximizes photographic opportunities.
– Upper Antelope Canyon and Lower Antelope Canyon offer distinct experiences and breathtaking views.
– The best time to visit depends on personal preferences, with summer offering vibrant light beams and colors, and spring/fall providing fewer crowds.
– Various tour options cater to photographers, sightseers, and those seeking a more personalized experience.
Planning and Preparing for Your Trip
Proper planning and preparation are crucial for a successful photography trip to Antelope Canyon. To ensure you make the most of your experience and capture stunning shots, here are some essential tips to consider:
1. Selecting the Right Gear
When packing for your trip, it’s important to choose the right gear that will help you achieve the best results. Here are some recommendations:
- A DSLR or mirrorless camera with manual controls
- A wide-angle lens to capture the vastness of the canyon
- A tripod to stabilize your shots in low light conditions
- A remote shutter release to minimize camera shake
- Extra memory cards and batteries for extended shooting
2. Understanding Camera Settings
Before your trip, familiarize yourself with your camera’s manual controls and settings. Here are some camera settings to consider:
- Shoot in RAW format for maximum flexibility during post-processing
- Set a low ISO (around 100-200) to minimize noise in your images
- Adjust your aperture to achieve the desired depth of field
- Experiment with different shutter speeds to capture motion or create long exposures
- Use spot metering to ensure accurate exposure in high contrast scenes
3. Creating a Photography Checklist
To stay organized and ensure you don’t forget any essential items, create a photography checklist before your trip. Here are some items to include:
- Camera and lenses
- Tripod
- Extra batteries and memory cards
- Cleaning kit to keep your gear free from dust
- Polarizing filter to reduce glare and enhance colors
- Comfortable clothing and sturdy shoes for exploring the canyon
4. Antelope Canyon Photo Guide
For more detailed guidance on photography techniques specific to Antelope Canyon, consider purchasing an Antelope Canyon photo guide. These guides provide valuable insights and tips from photographers who have extensive experience capturing the beauty of the canyon.
Following these tips and adequately preparing for your trip will set you up for success in capturing breathtaking images in Antelope Canyon. Now that you have your gear and settings sorted, it’s time to delve into the fascinating world of capturing the mesmerizing beauty of this natural wonder.
Mastering Light and Shadows
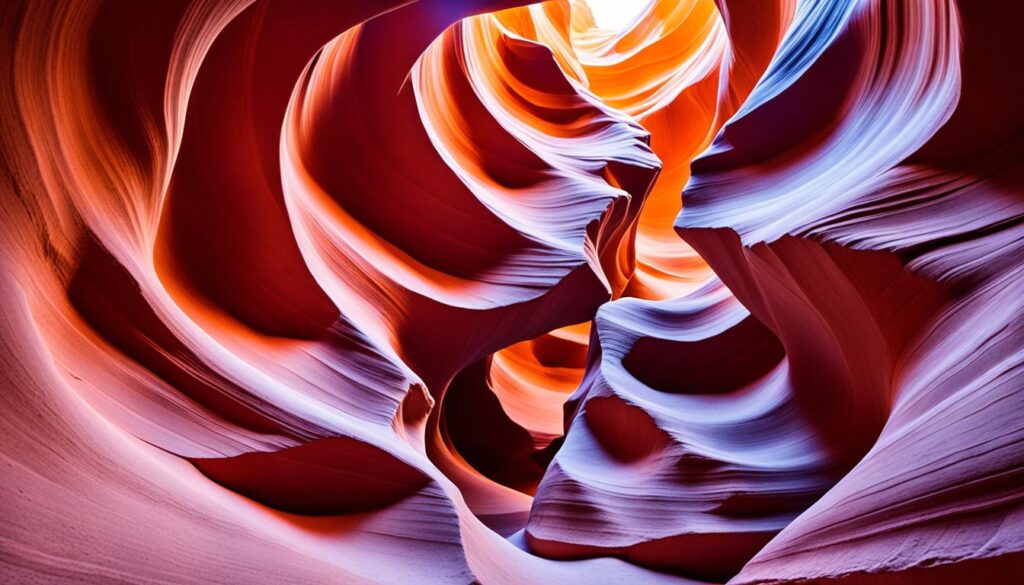
Antelope Canyon’s mesmerizing beauty is characterized by its unique interplay of light and shadows. Capturing the essence of this natural wonder in your photographs requires mastering the art of working with these intricate lighting conditions. By understanding how light interacts with the canyon’s rock formations, you can create visually stunning images that showcase the ethereal beauty of Antelope Canyon.
Working with Natural Light
The prime time to shoot Antelope Canyon is during the mid-morning and mid-afternoon when the sunlight enters the canyon through the narrow openings. The narrow walls of the canyon concentrate and filter the light, creating dramatic beams and shadow patterns that add depth and dimension to your photos. Position yourself strategically to capture these enchanting light rays as they dance through the canyon.
“The canyon’s ever-changing light conditions offer a multitude of photographic opportunities. By exploring different angles, perspectives, and compositions, you can capture unique and breathtaking images.” – Renowned photographer, Jane Wilson
Controlling Exposure and Dynamic Range
The extreme contrast between the bright areas and deep shadows in Antelope Canyon poses a challenge in properly exposing your shots. To avoid overexposed highlights and underexposed shadows, consider using exposure bracketing or HDR (High Dynamic Range) techniques. By combining multiple exposures, you can create a well-balanced image that retains both the brightness and details in the shadows.
Harnessing the Play of Shadows
The intricate rock formations and narrow passageways in Antelope Canyon cast captivating and intricate shadows. Leverage these shadows to create depth, texture, and visual interest in your photographs. Experiment with different compositions and angles to accentuate the play of light and shadow, enhancing the overall mood and atmosphere of your images.
Enhancing Shadows in Post-Processing
Post-processing is a valuable tool for fine-tuning the interplay of light and shadows in your Antelope Canyon photographs. Utilize editing software to bring out the subtle details and tonal range in the shadows, enhancing the overall dynamic range of your images. Carefully adjusting contrast, brightness, and shadow sliders can further emphasize the dramatic shadows and create a captivating visual impact.
By mastering the interplay of light and shadows in Antelope Canyon, you have the opportunity to create awe-inspiring photographs that truly capture the essence and beauty of this natural wonder.
Composition and Framing
When it comes to capturing the best Antelope Canyon photography, composition and framing are key factors that can make a significant difference in the final result. By understanding how to compose your shots effectively and use the natural features of the canyon to your advantage, you can create visually appealing and captivating photographs that truly showcase the beauty of this remarkable destination.
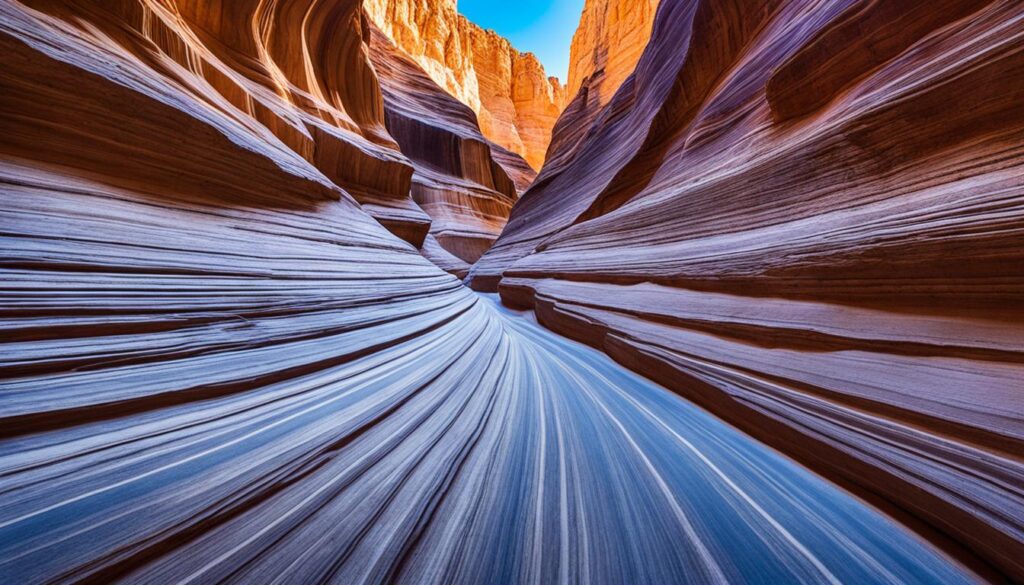
One essential technique to consider is utilizing leading lines. These are elements within the scene that guide the viewer’s eyes towards the main subject or point of interest. In Antelope Canyon, the curved, flowing rock formations present numerous opportunities for incorporating leading lines into your composition. By positioning yourself and your camera to include these lines, you can create a sense of depth and draw the viewer’s attention towards the heart of the canyon.
Another aspect to focus on is making the most of the canyon’s natural features. Antelope Canyon is known for its narrow, winding passages and smooth, flowing walls. These unique characteristics can add interest and texture to your photographs. Experiment with different angles and perspectives to highlight the interplay between light and shadow on the walls, as well as the intricate details of the rock formations.
Additionally, the rule of thirds can be a valuable composition technique to keep in mind. Imagine dividing your frame into a 3×3 grid and placing your main subject or focal point along one of the intersecting lines. This helps create a balanced and visually pleasing composition. However, don’t be afraid to break away from the rule of thirds and experiment with different compositions to add a sense of creativity and uniqueness to your images.
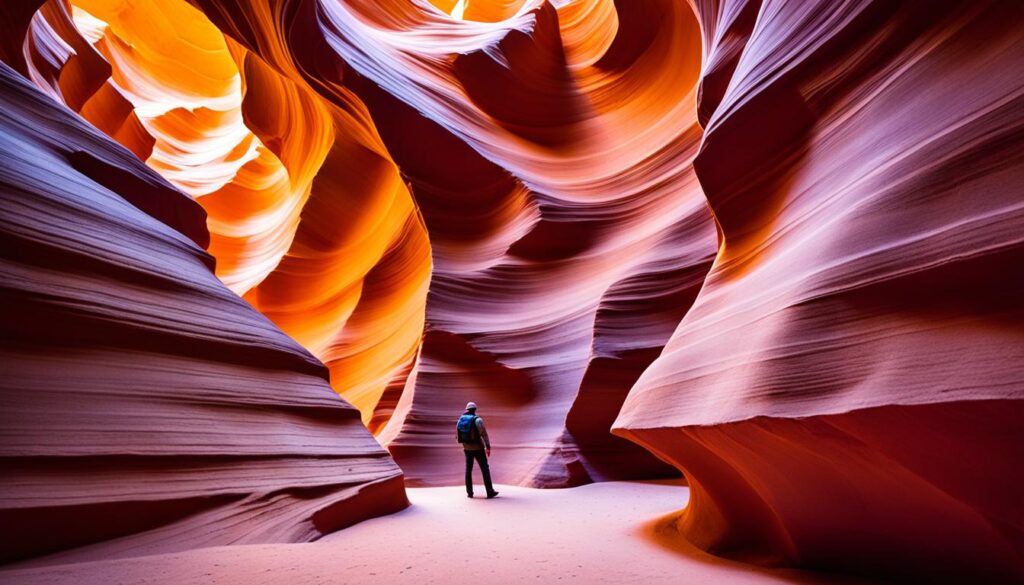
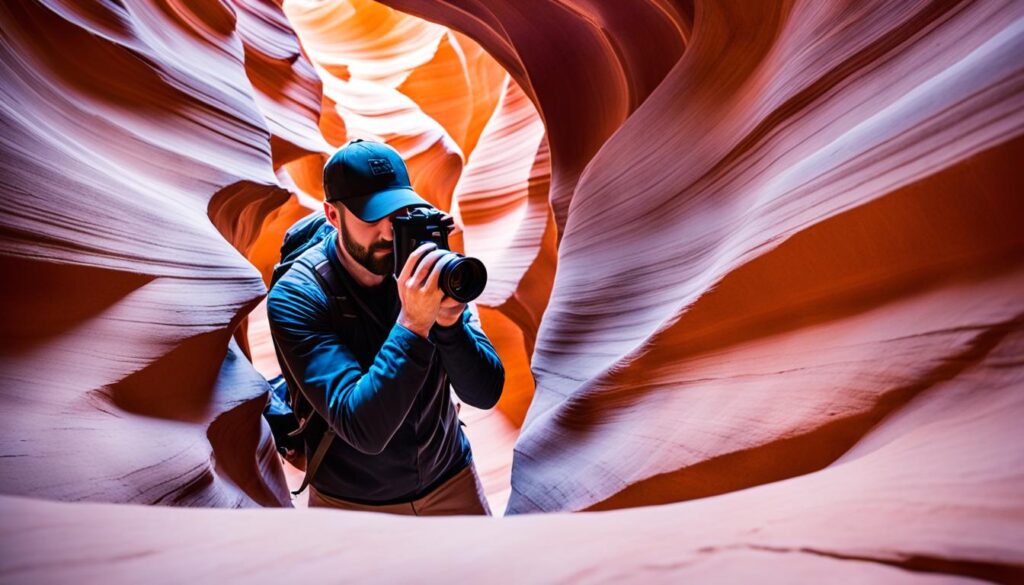
Incorporating foreground elements can also enhance your compositions in Antelope Canyon. Look for interesting rocks, textures, or even people to add depth and scale to your photographs. By including a foreground element, you provide the viewer with a sense of perspective, immersing them in the scene and making the image more dynamic.
Remember, composition and framing are subjective and can vary depending on your creative vision. Take the time to explore different perspectives and experiment with various techniques to find the compositions that resonate with you the most. With practice and careful attention to composition, you can elevate your Antelope Canyon photography to new heights.
Controlling Exposure
When it comes to capturing stunning photos in Antelope Canyon, understanding your camera’s exposure settings is key. Properly controlling exposure ensures that your images are well-balanced, with just the right amount of light and shadow. In this section, we will explore some essential tips and techniques for achieving optimal exposure in Antelope Canyon.
1. Use Manual Mode
While your camera’s automatic modes can be convenient, using manual mode gives you full control over your exposure settings. This allows you to adjust the aperture, shutter speed, and ISO according to the lighting conditions in the canyon. Manual mode ensures consistent exposure across multiple shots, especially if the lighting conditions change.
2. Consider the Histogram
The histogram is a useful tool that displays the distribution of brightness in your image. Aim for a histogram that is well-balanced, with no significant spikes on the left or right extremes. Avoid overexposing highlights or losing details in the shadows by using the histogram as a guide.
3. Bracketing for High Dynamic Range (HDR)
Antelope Canyon’s stark contrast between light and shadow can present challenges in capturing the full dynamic range of the scene. To tackle this, consider using bracketing to capture multiple exposures of the same shot. This allows you to blend the correctly exposed areas from each image to create a well-balanced HDR photo.
4. Experiment with Exposure Compensation
In certain lighting conditions, your camera’s metering system may struggle to accurately expose the scene. Experiment with exposure compensation to fine-tune the exposure levels. Increase the exposure compensation for darker scenes to avoid underexposure, or decrease it for brighter scenes to avoid overexposure.
5. Utilize Graduated Neutral Density Filters
If you want to capture the vibrant colors of Antelope Canyon while maintaining proper exposure, consider using graduated neutral density (ND) filters. These filters help balance the exposure between the bright upper portions and the darker lower portions of the scene, resulting in well-exposed images with rich colors.
Pro Tip:
For shooting in Antelope Canyon, start with an aperture around f/8 for optimal depth of field and sharpness. Adjust your shutter speed and ISO accordingly to achieve the desired exposure.
By applying these tips and techniques, you can have better control over the exposure in your Antelope Canyon photographs. Experiment with different camera settings and techniques to find your unique style and capture the breathtaking beauty of this natural wonder.
Capturing the Colors
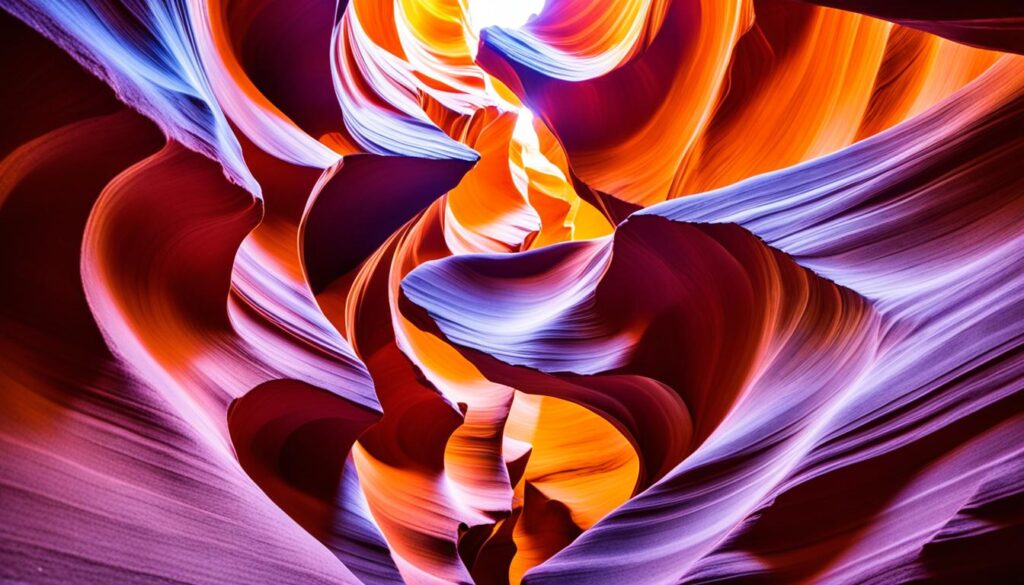
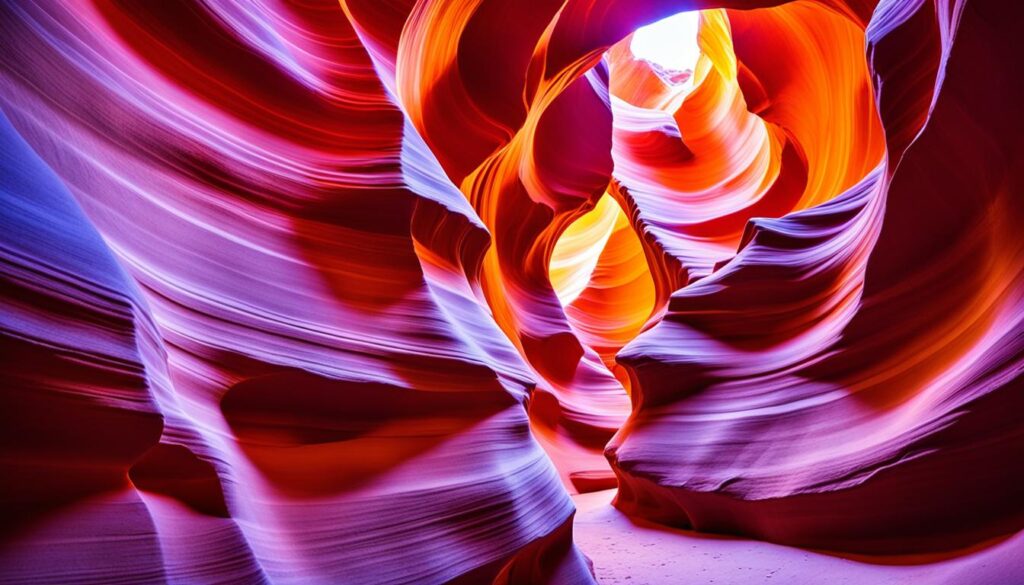
Antelope Canyon is renowned for its vibrant colors and intricate rock formations. To truly capture the essence of this natural wonder, it’s crucial to master the art of capturing and enhancing the captivating hues. By employing specific photography techniques and leveraging post-processing tools, you can bring out the true beauty of the canyon’s colors.
One essential technique for accurate color reproduction is adjusting the White Balance of your camera. Antelope Canyon’s unique lighting conditions can often result in color casts that may affect the accuracy of your images. By manually setting the White Balance, you can ensure that the colors are represented as they appear in the canyon, allowing for a more authentic depiction of the scene.
Additionally, post-processing software provides a plethora of tools to further enhance the colors captured in Antelope Canyon. Experimenting with saturation, vibrance, and selective color adjustments can help intensify the natural hues and create images that truly showcase the canyon’s vibrant beauty.
However, it’s important to strike a balance when editing. While it’s tempting to push the saturation to extreme levels, it can result in overly unnatural and unrealistic images. Remember to exercise subtlety and let the natural beauty of the canyon shine through.
When photographing the colorful rock formations in Antelope Canyon, it’s essential to pay attention to details and textures. Capturing the interplay between light, shadows, and the intricate patterns of the rocks can bring a sense of depth and dimension to your images, further enhancing the overall visual impact.
By mastering Antelope Canyon photography techniques and carefully manipulating colors through White Balance adjustments and post-processing, you can create stunning images that encapsulate the true beauty of this natural wonder.
Techniques for Enhancing Antelope Canyon Colors
| Technique | Description |
|---|---|
| White Balance Adjustment | Manually set the White Balance to accurately represent the colors as they appear in the canyon. |
| Saturation and Vibrance | Experiment with saturation and vibrance adjustments in post-processing to intensify the natural hues of the canyon. |
| Selective Color Adjustments | Use selective color adjustments to enhance specific hues in the image and highlight the beauty of the canyon’s colors. |
| Texture and Detail Capture | Pay attention to the interplay of light, shadows, and intricate patterns of the rocks to capture depth and dimension in your images. |
Mastering the techniques outlined in this table will allow you to effectively capture and enhance the vibrant colors of Antelope Canyon, resulting in breathtaking photographs that showcase the true beauty of this natural wonder.
Handling Crowds and Tourists
Antelope Canyon is a popular destination that attracts a multitude of visitors from around the world. While this natural wonder offers breathtaking photo opportunities, navigating through crowds and dealing with tourists can be a challenge for photographers. To make the most of your Antelope Canyon photography experience, here are some strategies and etiquette tips to keep in mind:
1. Plan your visit strategically
Research the best time to visit Antelope Canyon to avoid peak tourist hours. Consider visiting during weekdays or early in the morning when there are fewer people, allowing you to capture the beauty of the canyon without distractions.
2. Opt for photography tours
Joining a photography tour can provide you with exclusive access to certain areas of Antelope Canyon and ensure a more personalized experience. These tours are designed for photographers, allowing you to focus on capturing stunning shots while minimizing the presence of other tourists.
3. Practice patience and wait for your turn
Antelope Canyon is a tight and confined space, and it’s important to be patient when vying for the perfect shot. Wait for your turn and respect other photographers’ time to ensure everyone has an equal opportunity to capture their desired images.
4. Be mindful of your surroundings
While capturing your photographs, be aware of other visitors and their enjoyment of the canyon. Respect the tranquility of the environment and minimize any disturbances that may disrupt the experience for others.
5. Explore lesser-known spots
While the iconic areas of Antelope Canyon are undoubtedly stunning, there are also lesser-known spots worth exploring. These areas may offer unique compositions and fewer crowds, allowing you to create more original and intimate photographs.
6. Use long exposure techniques
When dealing with moving crowds or tourists, utilizing long exposure techniques can be helpful. This allows you to capture the flow of people as graceful streaks or blur, enhancing the artistic quality of your photographs.
“Patience and a respectful attitude towards others will greatly enhance your experience and photography opportunities in Antelope Canyon.”
By implementing these strategies and adopting a respectful approach, you can navigate through the crowds and capture stunning images in Antelope Canyon. Remember, the key is to be patient, considerate, and adaptable to the ever-changing environment.
Keep in mind that the true beauty of Antelope Canyon lies in its geological formations and natural wonders. Although photographers are drawn to this location, it’s important to preserve the canyon’s integrity and respect the experience for all visitors.
Safety Precautions
When embarking on a photography adventure to Antelope Canyon, ensuring your safety is paramount. By following these essential safety guidelines and precautions, you can ensure a secure and enjoyable photography experience.
1. Stay Hydrated
Antelope Canyon can be hot and dry, especially during the summer months. It’s crucial to stay hydrated throughout your visit. Carry an ample supply of water and drink regularly to avoid dehydration.
2. Wear Appropriate Footwear
Antelope Canyon’s terrain can be uneven, with sandy areas and narrow pathways. Wear sturdy, closed-toe shoes or boots with good traction to navigate the canyon safely.
3. Watch Your Step
While exploring the canyon, be mindful of your surroundings and watch your step. The sandstone walls can be slippery, and there may be slippery areas caused by water runoff or loose sand. Take caution to avoid slips and falls.
4. Follow Tour Guide Instructions
If you’re taking a guided photography tour, listen to and follow the instructions provided by your tour guide. They are familiar with the canyon’s nuances and can guide you safely through the various sections.
5. Be Mindful of Flash Floods
Antelope Canyon is susceptible to flash floods, especially during the monsoon season. Stay informed about weather conditions and be prepared to seek higher ground or evacuate the canyon if there’s a risk of flash flooding. Always check the weather forecast before your visit.
“Safety should always be a top priority when exploring Antelope Canyon.”
6. Respect Nature and the Environment
Antelope Canyon is a natural wonder, and it’s crucial to respect and preserve its beauty. Avoid touching the rock formations or leaving any trash behind. Keep the canyon clean for future visitors.
7. Be Considerate of Other Photographers
Antelope Canyon attracts numerous photographers seeking the perfect shot. Be considerate of others and allow them their space to capture their images. Avoid obstructing views or disturbing fellow photographers.
8. Stay on Designated Paths
To protect the delicate formations within Antelope Canyon, stay on designated paths and avoid walking or climbing on the walls. This helps preserve the canyon’s integrity and ensures the safety of yourself and others.
By adhering to these safety precautions, you can fully immerse yourself in the beauty of Antelope Canyon while maintaining your well-being and the preservation of this remarkable natural phenomenon.
Post-processing and Editing
After capturing Antelope Canyon’s mesmerizing beauty through your lens, the next step is to enhance your photographs through post-processing and editing. These crucial steps allow you to achieve the desired look while maintaining the natural beauty of the canyon. Here are some tips and techniques to elevate your Antelope Canyon images:
1. Selective Adjustments
Use editing software to make selective adjustments to specific areas of your photograph. This technique allows you to bring out the details and colors in different parts of the image, enhancing the overall composition.
2. White Balance
Adjusting the white balance during post-processing can significantly impact the mood and atmosphere of your Antelope Canyon photographs. Experiment with different color temperatures to achieve the desired effect, whether it’s showcasing warm golden tones or cool blue hues.
3. Contrast and Saturation
Consider adjusting the contrast and saturation levels to bring out the vibrant colors and intricate details of the canyon’s rock formations. Be mindful of maintaining a natural look while intensifying the visual impact of your images.
“Post-processing allows you to refine and amplify the emotions experienced while capturing Antelope Canyon, creating breathtaking visual narratives.” – John Adams, professional photographer
4. Sharpening and Noise Reduction
Use sharpening techniques to enhance the clarity and crispness of your images, particularly with intricate details in the rocky textures. Additionally, apply noise reduction selectively to reduce any unwanted digital noise without affecting the overall quality.
5. Cropping and Composition
During the editing process, consider cropping your images to improve the composition and eliminate any distractions. Focus on highlighting the key elements that drew your attention in the canyon, allowing them to take center stage.
Remember, post-processing should enhance the beauty of your photographs, not alter them beyond recognition. Maintain the authenticity of your images by striking a balance between artistic expression and the integrity of the natural environment.
Now that you know how to master the post-processing and editing techniques, you can bring your Antelope Canyon photographs to life. Stay true to your vision and capture the awe-inspiring beauty of this natural wonder in every frame.
Conclusion
In conclusion, capturing captivating shots in Antelope Canyon requires a combination of technical skill, artistic vision, and diligent preparation. By following the photography tips and techniques discussed in this article, you can enhance your ability to immortalize the mesmerizing beauty of this natural wonder.
Remember that practice is key to improving your Antelope Canyon photography skills. Take the time to experiment with different compositions, angles, and lighting conditions. Embrace the continuous learning process, as each visit to Antelope Canyon presents new possibilities for creativity and growth.
As you embark on your photography journey, keep in mind that the natural beauty of Antelope Canyon should be respected and preserved. Ensure your safety and the safety of others by adhering to the recommended precautions and following the guidelines provided by local authorities.
Lastly, don’t forget to enjoy the experience of photographing Antelope Canyon. It is a place of extraordinary beauty and wonder, where you can create images that evoke emotions and inspire others. So grab your camera, immerse yourself in the awe-inspiring surroundings, and let your creativity flourish.


